Do you want to grow your own rice but don’t have access to a large field or traditional rice paddy? Don’t worry! Growing rice in containers is a viable option that can help you experience the joy of growing this staple crop right in your backyard. In this blog post, we’ll cover everything you need to know to successfully grow rice in containers.
1. Selecting the Right Container
Choosing the correct container is crucial for successful rice cultivation. Opt for a deep container with a minimum depth of 12 inches to allow the roots to grow properly. Additionally, the container should have drainage holes to prevent waterlogging.
2. Choosing the Right Rice Variety
When selecting the rice variety, consider your climate and the container size. Certain rice varieties are better suited for container cultivation, such as dwarf or short-grain varieties. Some popular choices include ‘Calrose’, ‘Arborio’, or ‘Koshihikari’.
3. Preparing the Container and Soil
Fill the container with a well-draining soil mix. Combine equal parts of garden soil, compost, and rice hulls or perlite to provide good drainage. Rice prefers slightly acidic soil, so adjust the pH to around 6.0 – 6.5 if necessary.
4. Germinating Rice Seeds
Soak the rice seeds in water for 24-48 hours before planting. This will help soften the outer shell and promote germination. Once soaked, transfer the seeds onto a damp cloth or paper towel and cover them. Keep the seeds in a warm and dark place for 24 hours to encourage sprouting.
5. Planting Rice Seeds
Plant the germinated seeds 1-2 inches deep into the container, spacing them out evenly. Ensure the container is filled with around 2-3 inches of water to mimic the flooded conditions rice requires for growth. Maintain a water depth of around 2 inches throughout the growing season.
6. Providing Proper Care
Rice requires consistent watering to thrive. Monitor the water level daily and refill as needed to maintain the desired depth. Additionally, ensure that the container receives at least 6-8 hours of direct sunlight per day. Fertilize the plants every two weeks with a balanced organic fertilizer to provide essential nutrients.
7. Managing Pests and Diseases
Keep a close eye on your rice plants for any signs of pests or diseases. Common issues include rice blast, stem rot, and leaf folder insects. Use organic pest control methods to protect your plants, such as neem oil spray or introducing beneficial insects.
8. Harvesting Rice
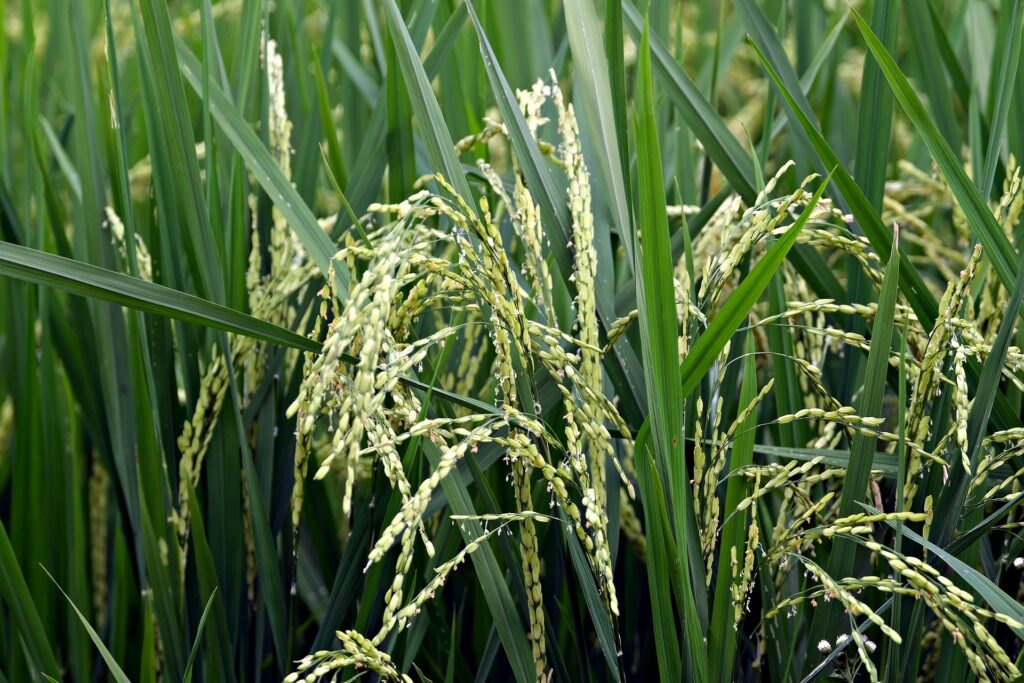
Rice is ready for harvest when the plants turn golden brown and the seed heads droop. Cut the seed heads and hang them in a well-ventilated area to dry. Once dry, thresh the seed heads to remove the grains and store them in a cool, dry place until ready to use.
Conclusion
Growing rice in containers may require some extra effort and attention to detail, but it is a rewarding experience that allows you to enjoy fresh, homegrown rice. By following the steps outlined in this guide, you’ll be well on your way to successfully cultivating rice in the comfort of your own backyard. So get started today and witness the joy of growing your own rice!


